
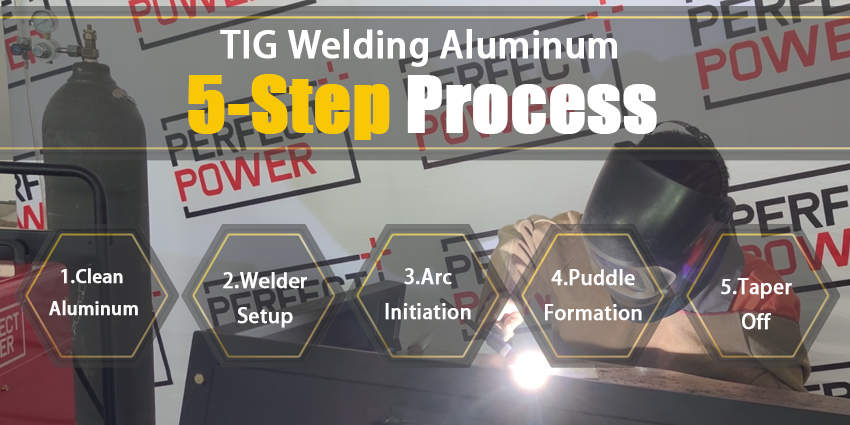
Simple 5-Step Process On How To TIG Weld Aluminum
In this section, we will introduce a simple 5-step process of how aluminum is TIG welded.
The steps are as follows:
- Step 1: Clean your Aluminum
- Step 2: Setup your Welder
- Step 3: Initiate the arc and perform the cleaning action
- Step 4: Form the weld puddle and add a filler rod
- Step 5: Taper off and finish your TIG welds
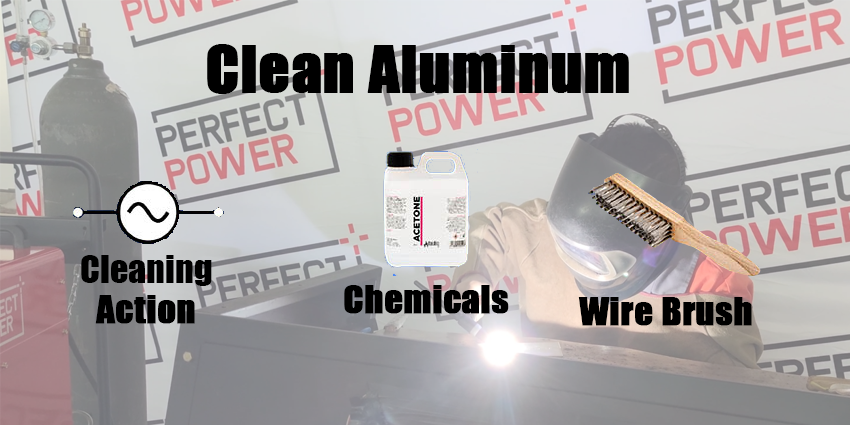
Step 1: Clean your Aluminum
Cleaning your aluminum piece means getting rid of the oxide layer on the metal.
This step is the most important part of the whole process.
The cleaning is required because of the difference in the melting point of the oxide layer and aluminum itself:
- Aluminum melts at around 1,200 degrees Fahrenheit,
- While its oxide layer melts at over 3,200 degrees Fahrenheit.
If not removed, when TIG welding at high heat, the oxide layer would just sit there like a skin, while the aluminum inside would melt away.
There are three ways that you can use to clean the aluminum’s oxide layer:
- Use cleaning action from AC settings (adjusting the AC balance).
- Use chemicals such as acetone or other cleaning solvents.
- Use mechanical equipment, such as a wire brush.
Please remember that changing the balance control cannot replace the proper aluminum cleaning.
The reason is that there are many contaminants that can only be removed by chemicals or mechanical tools, such as oils, hydrocarbons, or residual tapes.
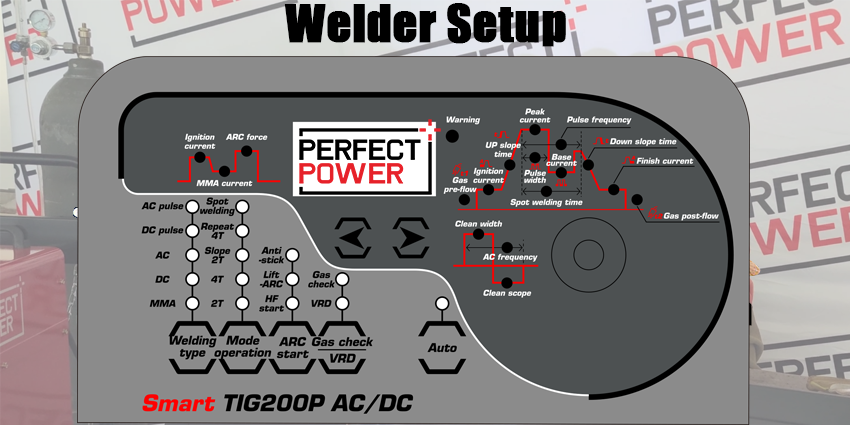
Step 2: Setup your Welder for TIG Welding Aluminum
You should get used to the menus of your welder machine.
Certain configurations to watch out for includes:
- Setting the welding amperage.
- Choosing current polarity (use DCEP for balling tungsten, then switch to AC for TIG welding aluminum).
- Modifying the cleaning percent.
- Adjusting the AC output frequency.
Step 3: Initiate the arc and perform the cleaning action
After balling up your tungsten tip, switch polarity to AC and you are good to go.
Hold the torch firmly with a torch angle of about 15 degrees and keep the tungsten close to the aluminum piece (around the tungsten diameter).
When ready, initiate the arc.
This will activate the cleaning action immediately, as you will see your metal piece cook away and create a frosty-looking.

Please remember to wear TIG gloves on, as this process can get pretty hot.
Step 4: Form the weld puddle and add a filler rod
After around 1 to 2 seconds, a shiny wet puddle will form, as the oxide layer is being removed.
When you see this shiny wet puddle, start moving your torch, slowly but steadily.
Try to move the torch along the weld in even spaces, roughly around 1/8 inch, and dab the filler rod in the puddle.
To dab, the filler rod into the puddle, grip the rod between the first two fingers and alternatively pinch it with your thumb.
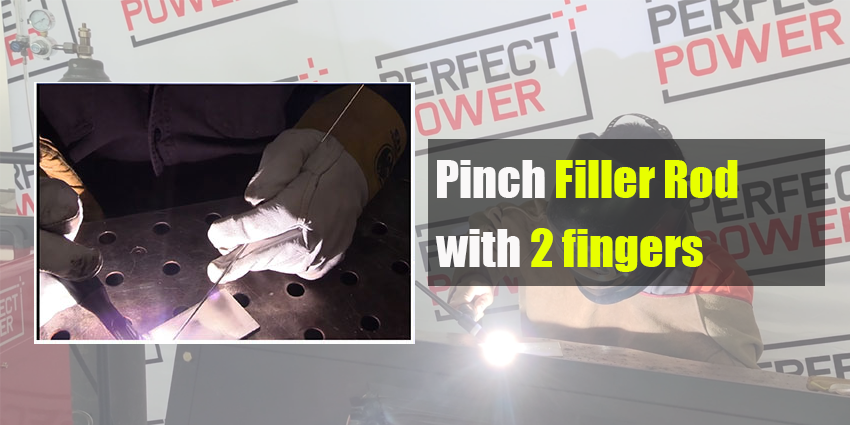
Please note that only dab the filler rod at the base of the puddle, not the puddle’s center or you will contaminate the tungsten electrode.
Keep the arc length short by holding the torch close to the metal piece so that the weld is covered well in argon.
If you do everything correctly, you should get even ripples on your weld.
Control your heat by adjusting your foot pedal to make sure you have a proper amperage amount on your applications.
One small tip during TIG welding aluminum is to raise the torch a little bit to extend your arc length because the puddle can change in height when added with a filler rod.
If not raising your torch, the puddle can jump onto the tungsten and contaminate it.
Also, the torch and the filler rod should form a 90 degrees angle to each other.
In short, during your bead runs, make sure the hand holding the torch slides smoothly and steadily, while the other hand dabs the filler metal.
Step 5: Taper off and finish your TIG welds
When reaching the end of your welds, do not stop immediately.
Add a little more filler rod to the end tack, some pro fabricators usually swirl or move the torch around for a little while, as they taper off.
Otherwise, you can get a crater hole in your weld.
Conclusion
You have gone over every basic point about TIG Welding Aluminum.
Aluminum is a tricky material to perform TIG Welding on, as not all professional TIG welders can create a good Aluminum TIG weld.
This process is what sets the fabricators apart.
However, do not be discouraged.
Just follow every guide in this article, and keep practicing and you can surely nail it.